Sunday 9 February 2014
Pretty Snoozy
Tuesday 4 February 2014
Bouncing Beans!
Ooof! look at this grubby beanbag…
There is no liner inside so to wash it would mean decanting all the beans and generally more hassle then plan b.
Plan B?? Make a cover!!
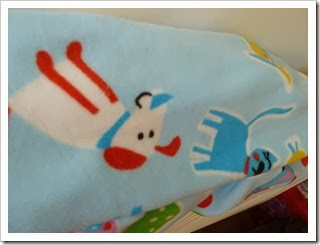
I had a 2m length of fleece to hand. It was originally bought to make a new cosy toes on the pram but my boy is growing so fast I thought a cosy cover would be more useful.
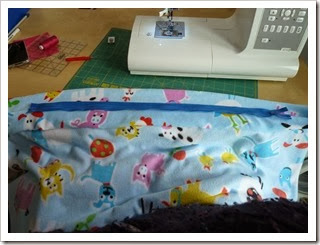
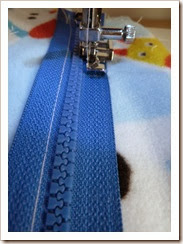
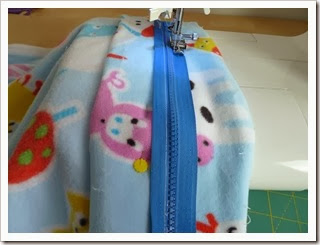
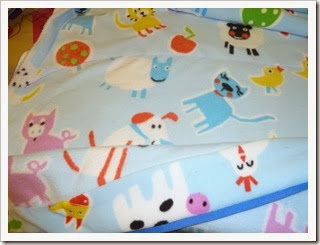
I originally planned to copy the pattern pieces of the original beanbag but a bit of measuring up and I decided I didn’t have enough fabric to have a circular base and then materials for the sides. I opted for simplicity and decided a rectangular cover would do. I folded the fleece in half and lined up the zip then sewed it on. The zip went together surprisingly easily. I just used my zipper foot to get as close to the teeth as possible.
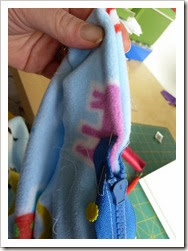
to finish the zip closure I just closed each end of the fleece opening,
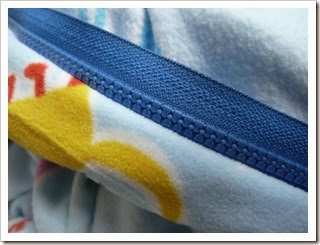
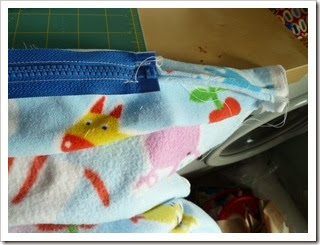
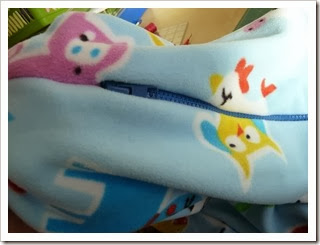
The finished zip looks quite neat!!
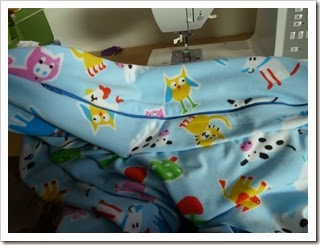
I Then sewed up the side seam so I had a tube with a zip closed bottom. I tried it on the beanbag for size and to get a rough idea of how much fabric I would need at the top.
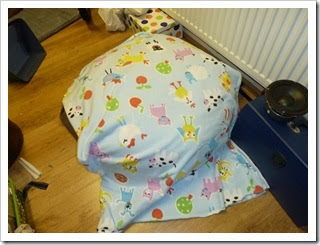
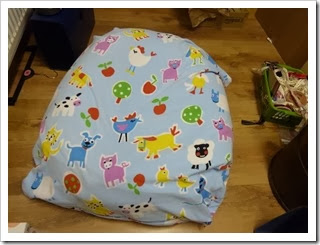
It was a good fit. I would have liked the bottom to lie flatter and have a bit more flowing room but that was the sacrifice of not having a circular base I was reconsidering the design until I laid the fabric over the beanbag and decided a pouffe shape was more pleasing to aim for. In this confirmation the zip would like at the side not the bottom. No design alteration required just put the beanbag on the side!
I very precisely measured by eye that I wanted the top to be about dog height. So I drew an arc from edge to edge allowing a bit of extra room for squidging (and possible fudging later – you can sew things smaller people not bigger!!)
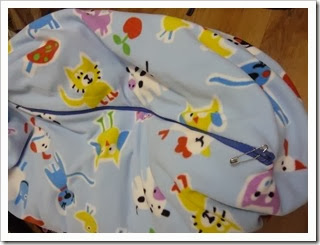
Then all my seams were sewn. Top tip number one! leave your zip open slightly once installed - its hard to open it through layers of fleece!! I found it impossible….REALLY impossible. So I opened up a seam to find the cause..I was not amused when I spotted the zipper pull on the floor
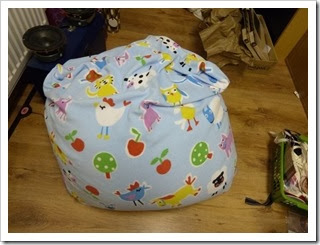
I substituted a safety pin to get the zip open. Then sewed up the hole so I could finally turn it right-side out and go TA-DAAAAAAAAAAAAAAAAAH!
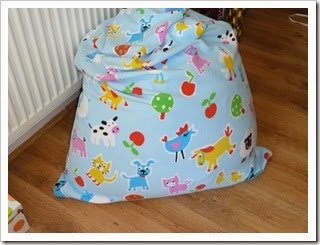
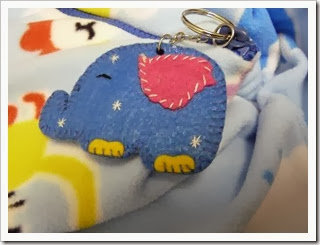
I am pretty chuffed with it. The zip pull has now been replaced with a lovely elephant keyring that I received over Christmas.


