Monday 27 February 2012

Nursery addition #2

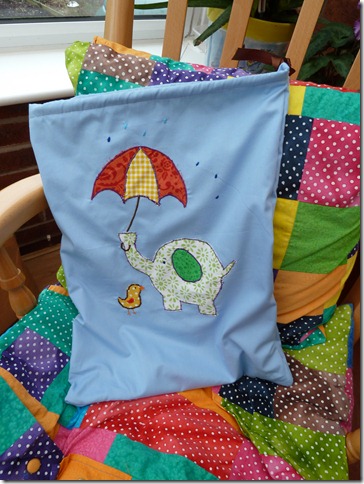
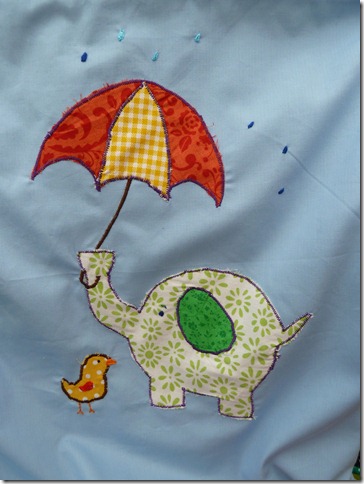
Remember the sea themed laundry bag I made for my nephew a few posts back? You can find it here. I decided it would be nice to have one for my nursery in preparation for  our new arrival. Like the previous one I decided on a simple blue background but lacking any more convenient picture fabric and fancying an applique challenge I went in search of elephant pictures on the web and found a charming one of an elephant with an umbrella. Out came the paper and I free styled a copy changing the size and the odd detail. Then came the fun part – Choosing the fabrics!!
I have recently sorted through my stash and ironed everything up neatly so this was actually more of a joy than normal and wasn’t confined to what I simply had near the top of a very disorganised pile! Once everything was appliqued down I lined the bag with an old T-Shirt, created a channel for the ribbon and sewed up the sides. It’s not necessary to line these things but I prefer the end result after applique as it hides my messy embroidery!! And Voila!! one laundry bag fit for a nursery.
128130

Wednesday 22 February 2012

Nursery addition

Way back when in one of my first sewing projects I created a patchwork plastic bag holder. This was before my blog ever started and it was a nice introductory sewing project. There are many good tutorials out there on the web to help talk you through the process. This time I needed a bag holder for our nursery ready to stash all those plastic bags that we use for lining the bin. I fully anticipate my life being filled with pooh filled nappies so having a means of disposal on standby was a must. I had a small remnant of Cath Kidston Fabric left over from the stash building I did in preparation for the Cath Kidston Quilt which turned out to be the perfect size. Sew to channels top and bottom, thread and secure your elastic through then seam up the sides. Simples!
131_thumb[9]
This is a nice project to get started sewing and can be quite a useful stash buster as well. The Tutorial I used to remind me of the steps for this can be found here at little sage.

Sunday 19 February 2012

Bright stripes cushion cover

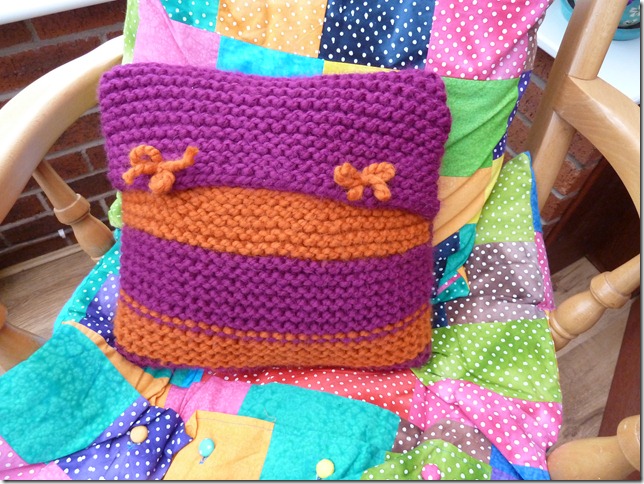
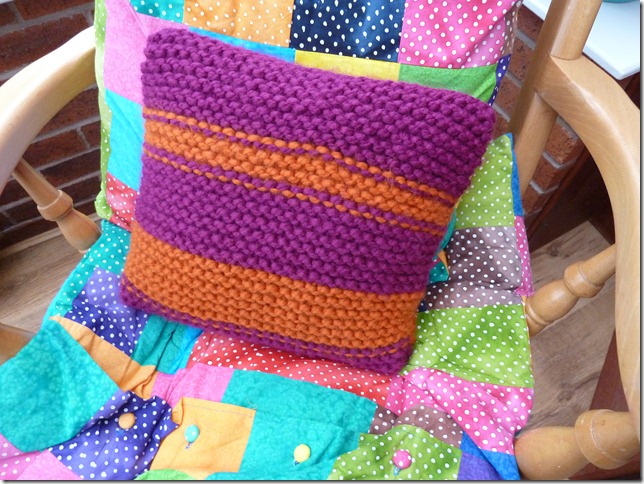
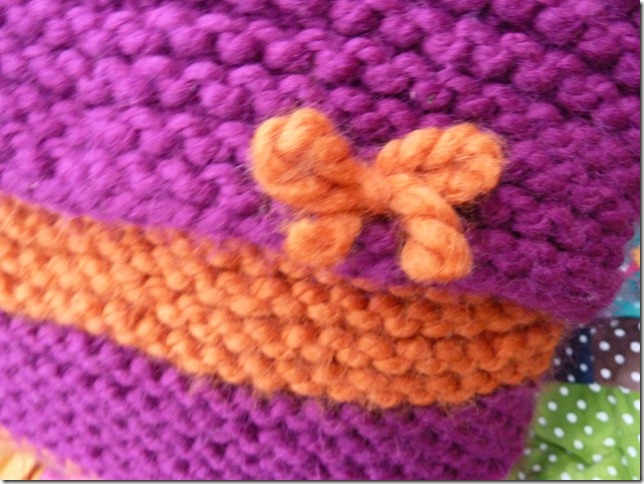
I was gifted two balls of cygnet seriously chunky yarn as a thank you for some wedding flowers I made. After a lot of consideration I decided it would make a nice chunky cushion cover. I cast on enough stitches to cover the width of my chosen cushion pad and then just knitted away. I changed colour at random and didn’t mind the additional lines created by changing the colour on different sides feeling they added a little character. Then once the right length was reached I folded it over to create an envelope back and sewed up the sides. The little bows are just ties of spare wool to help keep the opening closed as really the length could have done with another 10 rows but I ran out of the wool. These are just threaded through both layers and tied so can be easily removed or changed for something else like buttons if the mood takes me later on. For now though I am happy with the bows Open-mouthed smile
 060061062

Thursday 16 February 2012

The Square Bird….

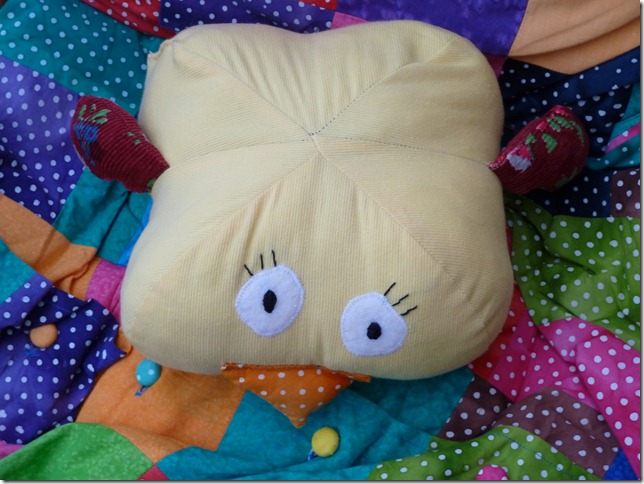
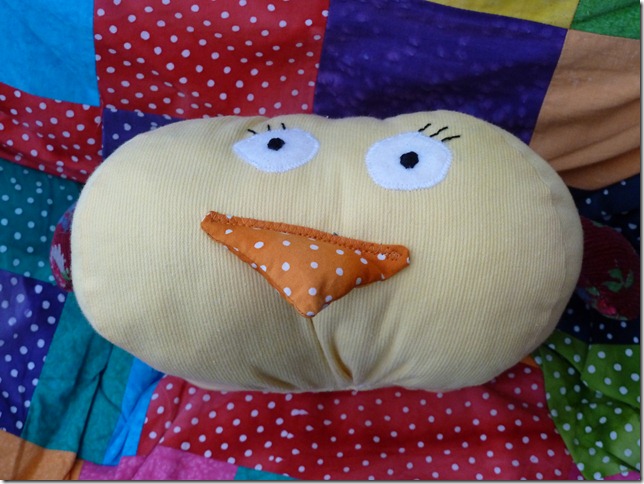
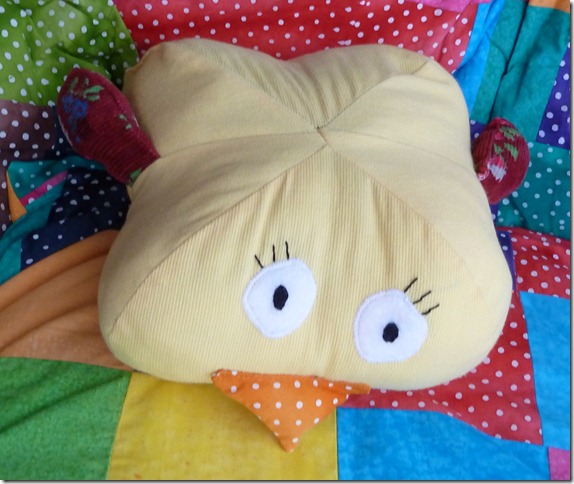
I was recently gifted a book entitled Little Birds by Design Collective. Have a little look on amazon to see how pretty this book is. It is all about birdies and the different ways to make them. There was a bird featured which was a fat round bluebird. I decided this would make an excellent toy for our upcoming arrival and as I had some spare fabric from the charity shop duvet cover I used for the V-Shaped cushion cover I thought what could go wrong!! So I set about it. The pattern calls for four teardrop shapes which are stitched to form a ball and then the features such as the wings and the feet sewn on afterwards. in order to make this more robust I decided to half two of the shapes to allow for the wings to be sewn into the seams…..this and some other fatal mistakes (very important to line the points of the shapes up people) led to a very cute bird…..but one that was not exactly round…..ready to burst into a laughing fit???? ….don’t worry…everyone else has once they’ve been shown this sewing adventure….especially when they are informed of the crucial shape it should be….spherical…..yup it should be a nice big fat spherical bird instead we have this……..
From above…
069
From the front….
070
Finished laughing yet????
072
If you look closely at the top you can see how badly off centre my points are. This is definitely a design I plan to practice on!! So hopefully dear readers in the future you will see some perfectly sewn spherical balls which will have some hope of rolling across the floor! In the meantime I am very proud of my little square birdy as he will function as a very cute cushion if nothing else!!

Sunday 12 February 2012

Cushion Tutorial – V-Shaped

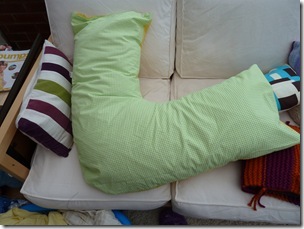
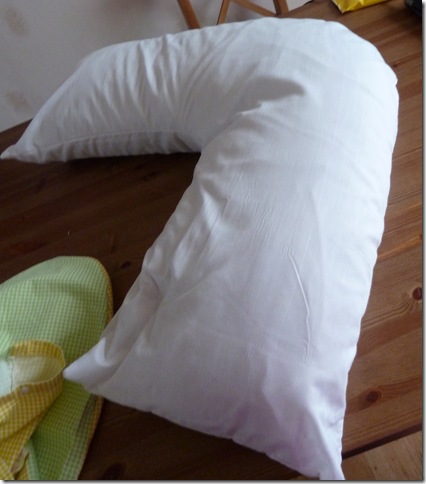
Alongside Muslins another top recommendation from parents is to invest in a feeding pillow. These come in all sorts of shapes and sizes from doughnut shaped through to V-Shaped. I think this one can be used during pregnancy as well to help get a comfy position to sleep in. I bought it for use as a feeding cushion to help prop the baby up and at the end if the day…you can’t have too many cushions! This one was very reasonably priced at £6.99 from the local ALDI store however the pillowcase supplied was thin and white. White is not a good colour for me as I can get it dirty just by looking at it and it is just a bit boring….So a revamp was called for….
Cushion Tutorial (11) - Copy
The local charity shop was raided and I came up trumps with a duvet cover in in yellow and green gingham. The charity shop is very pot luck with lots of granny-esque specimens but if you can find a duvet cover you like then you have a source of cheap cotton…this one cost me 50p. This is how I did it:
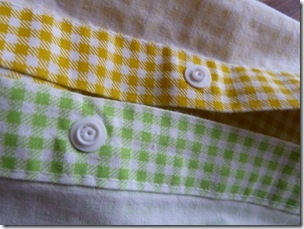
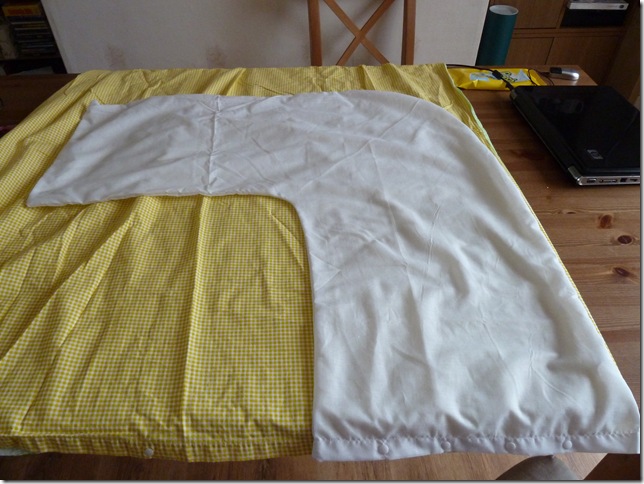
1. I laid it out on the table and laid the original pillowcase on top as a template. The cunning bit is to use the existing hem and closures wherever possible – save on a bit of sewing! I lined the pillowcase up against the side of the duvet to create a natural join and used the poppered hem at the bottom for the opening.
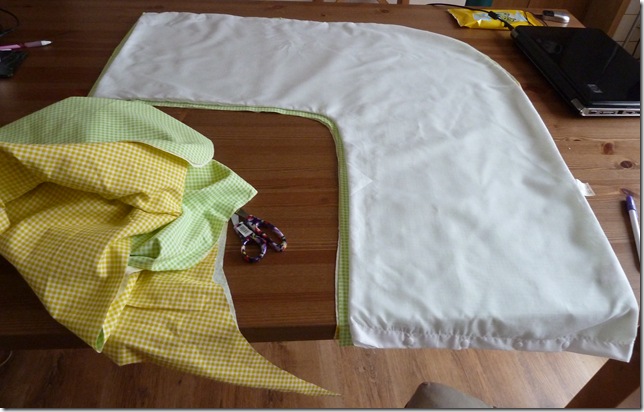
Cushion Tutorial2. The next step is to cut around your template. This can be tricky as I found with this duvet one side didn’t exactly match up with the other. You can solve this by separating the sides and treating each as a separate bit of fabric or allow yourself some extra seam allowance. I opted for the latter.
Cushion Tutorial (4)
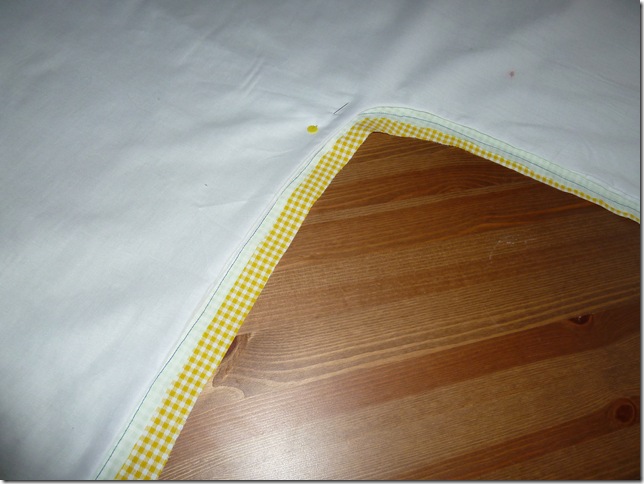
3. To help deal with the overlap I turned the duvet so the right sides were facing and then pinned the original pillowcase to the fabric. This helped me negotiate any areas where the seams were cutting it a bit fine. Just be careful not to sew the original pillowcase down as well!!
Cushion Tutorial (7)
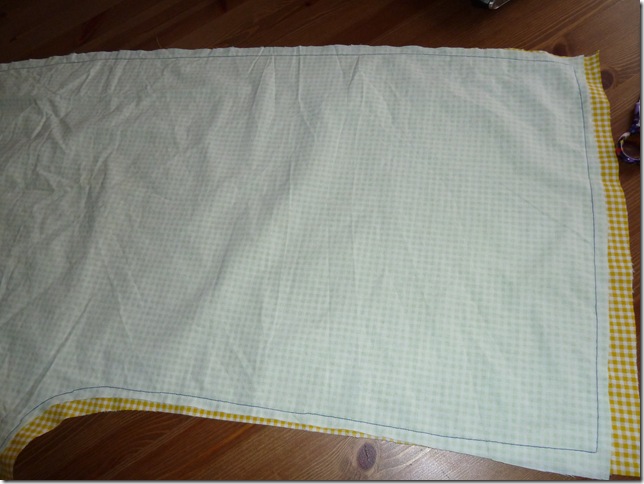
4. Sew around all the closed edges of the pillowcase leaving one end open (the end with the Poppers).
Cushion Tutorial (10)
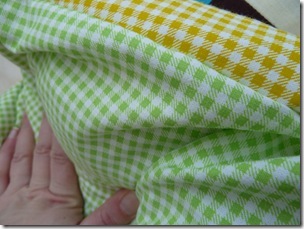
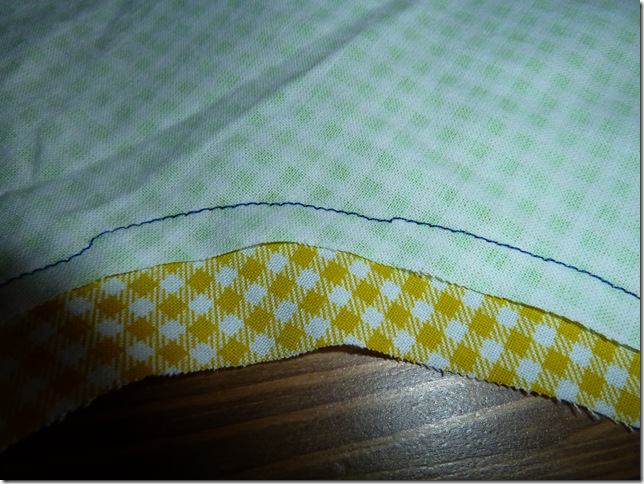
The picture below shows the mismatch in the two materials even though they were even when I Cut them out!
Cushion Tutorial (2)
5. Trim away the excess fabric from the hem.
6. Turn right sides out and use!
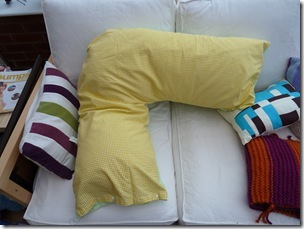
Below you can see both sides of the finished cushion cover as well as a close up of the original hem and popper fasteners that now form the closures. I need to add another couple just to make it a firmer close but definitely an easy make and for less than 50p!
Cushion Tutorial (3)Cushion Tutorial (6)Cushion Tutorial (8)Cushion Tutorial (9)

Monday 6 February 2012

Burps and Blankets

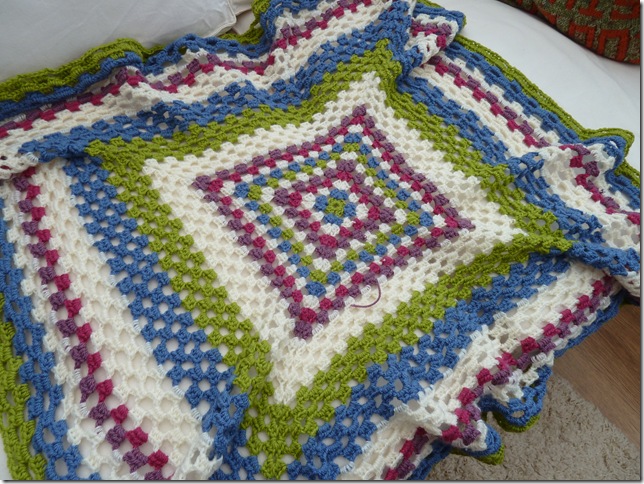
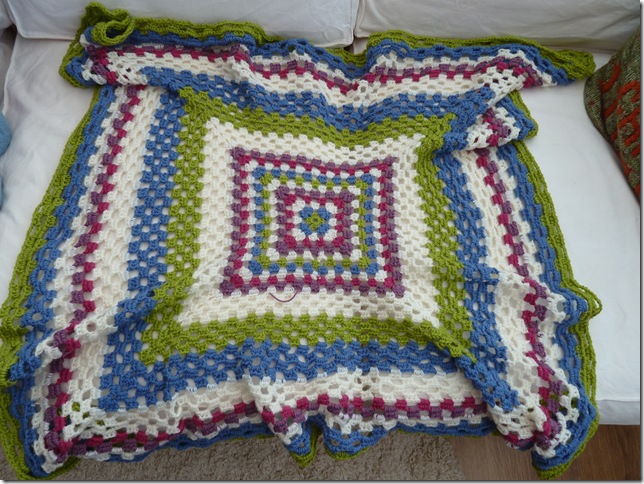
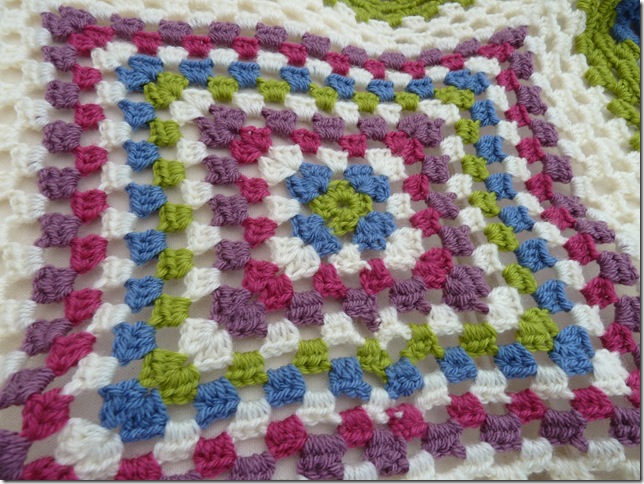
Two projects also destined for my nephew is this simple granny square blanket. The colours were chosen by my sister before she knew she was having a boy. The pink and purple add a nice balance to the zingy green so it looks colourful but not too girly!
BlanketBlanket (2)Blanket (3)
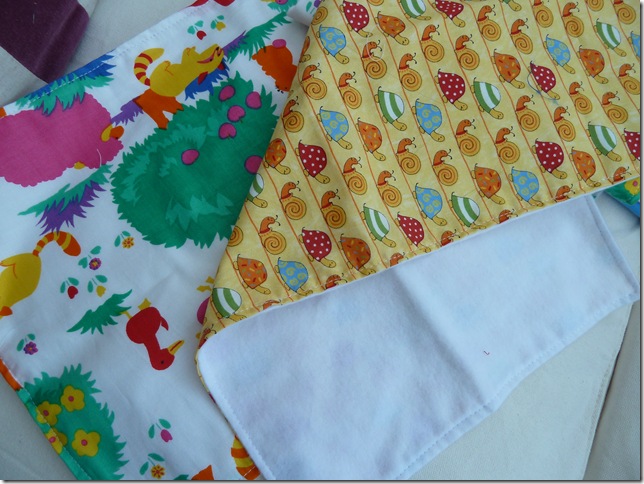
The second project is more of a practical nature. The one thing any parent will say is that you can’t have too many muslin cloths. Babies burp, throw up, wee, dribble and generally leak all over themselves the furnishings and you! The muslin is apparently a must have in the parental toolkit helping to keep your clothes slightly drier and smelling fresher. The muslins on sale are absorbent but struck me as being a bit thin so I made some designer burp cloths.
bURP cLOTHS (2)
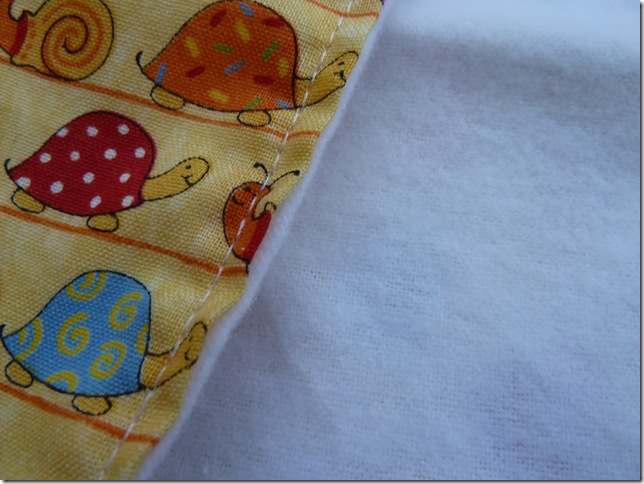
As you can see in the photo they are the simplest sewing project ever! Take a square (can be any shape) of cotton (I used half a fat quarter for the snails one but anything will do – up cycled clothes and duvets for instance. The Size and shape of the cloths can be varied as you wished just keep in mind the ultimate function. Cut a second shape out of a fleecy or flannel fabric. The cotton layer helps jazz the cloths up and provides a good starter surface whereas the flannel provides some grip to keep it on the parents shoulder and helps give a bit more absorbency.  Put right sides together and sew right the way around leaving a small hole to turn it out. Turn right side out and iron flat. Then to finish simply top stitch round the border. The top stitching gives a nice finish and helps the burp cloth keep its shape through multiple washings.
bURP cLOTHS

Thursday 2 February 2012

Pitter Patter

I have been busy recently on lots of baby makes. I got a wonderful present of a nephew on Christmas Eve. A teeny Tiny little boy. Some of the makes in the next few posts have been in production for a while but I have finally gotten round to finishing them and posting them out.

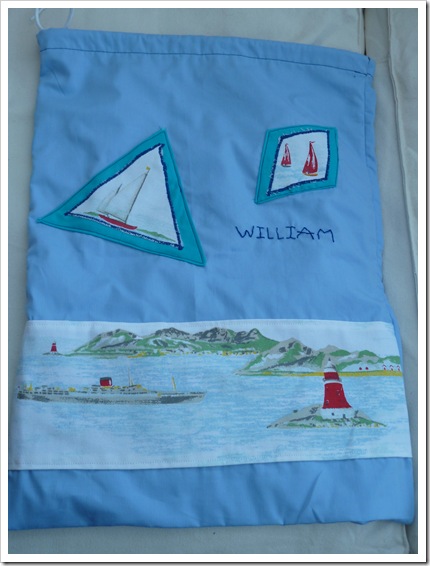
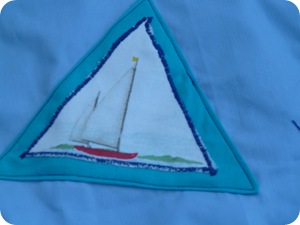
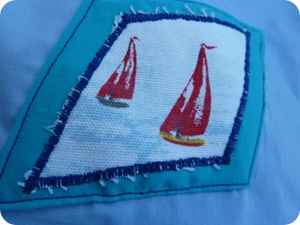
So first up is a teeny tiny laundry bag for the new boys dodgy smelling post poo clothes! Its such a simple make and there are lots of tutorials out there to help you along. Essentially you take two piece of material (four if you want a lined bag) and sew a channel along what will be the top edge (simply double hem it). Then sew up the sides and thread a shoelace through and you have a drawstring laundry bag. I up cycled one of my husbands old shirts for the lining and added a few Cath Kidston Boat scenes which have been lurking in my stash since My first Quilting project Here. The parcel is now winging its way down south so lets hope the little man decides he’s into boats…

Laundry Bag (2)

Laundry Bag (3)  Laundry Bag